Last Updated on April 26, 2026 by Walter
Today we've prepared for you a NordVPN Mac Setup Guide. Don't be frightened by the number of steps you need to take, it is really not hard, if you follow the instructions below you have nothing to worry about.
Table of Contents
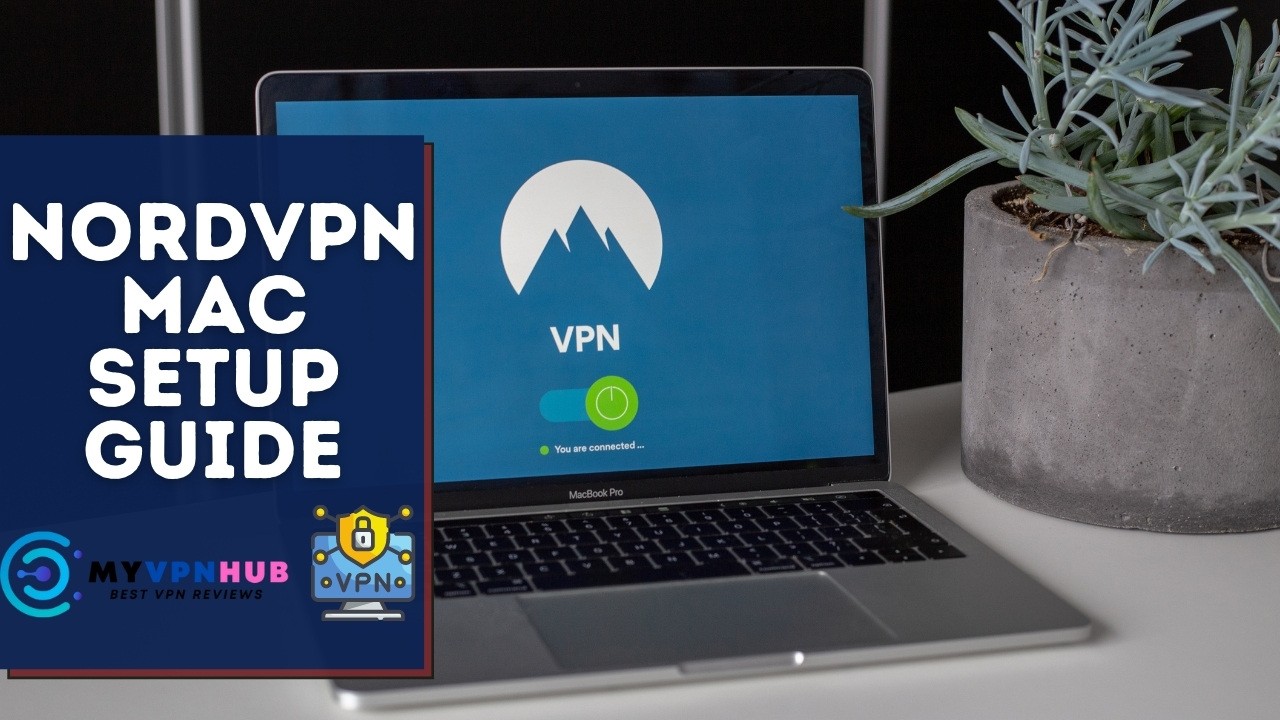
NordVPN Mac Setup Guide
First, download the NordVPN Mac software. Visit their website and click “Tools and Information”. Next, click on “Download” from the drop-down menu.
You will now need to click on the “Download” button when you hover over MacOS X's frame.
The dialog box will appear allowing you to save the Mac client installer file to your computer. Mac OS X 10.10 is required. You can also find manual setup instructions on how to configure Mac OS X with OpenVPN and L2TP /IPsec.
After the client has been downloaded, you can open the file that was downloaded. You will be asked to drag the NordVPN icon in the application folder. This will install the application. To launch NordVPN, open the folder.
To confirm your authorization to use the client, you will be asked to enter your NordVPN credentials when it is launched for the first time. You can see now at the bottom of the screen it says: “Sign In to Access NordVPN“. Click the menu icon (three horizontally aligned lines) at the upper left corner to access the login screen. It will slide.
Click the “Login” button to enter your NordVPN username and password. These will be automatically remembered by the application. Here is a link to reset your password if you forget it. If you don't have one, there is a link to create one.
After you have correctly entered your credentials, you'll see the screen shown above. The bottom of the screen now says “Successfully Logged In”. Now you can see the map screen. This screen allows you to zoom in or out and to select a location that you want to connect to. Click on the pin to the country.
Let's first look at how to connect to a VPN server within NordVPN networks. To access the settings screen, click the menu icon at the upper left corner. It contains advanced settings that will show you how they work.
NordVPN Navigation Details
- Account Information – This section shows you your username and expiration date.
- It displays your public IP address even though you aren't connected to any VPN server.
- Help – There are three ways to get help for a question or problem.
- Help Center – This will open both the main FAQ page and the support page, so that you can search for the answers to your questions.
- Email Support – This will create a support ticket.
- Live Chat – This will allow you to have a chat with a member of NordVPN's support team. You can speak to technical or billing support depending on what topic you select.
- Settings – These settings allow you to modify the behavior of NordVPN clients.
- Smart-Play – This will allow you transfer your favorite streaming media from your country to any NordVPN server. You don't have to access the server from the country where the media was broadcast. You can access streaming media from other countries by connecting to a server within your country.
- Automatic connection to – This will open a new window that lists all NordVPN servers. You can choose one to connect automatically when the application launches, as shown in the figure.
- Notifications – This option will allow you to see pop-ups when you connect or disconnect from NordVPN servers.
- Start on boot – This will automatically launch the client whenever you start your computer. This and automatic connectivity can be enabled to ensure you are always connected with a VPN while using your computer.
- Logout – This will prompt you to log out and re-enter all of your credentials each time you sign back in.
Connect NordVPN on Mac
After we have reviewed some settings for NordVPN Mac OS X, let's now see how easy it can be to connect to a VPN server in their network. Simply click on the map screen to select the country that you wish to connect to. The message now reads, “You have successfully connected to the United States.”
NordVPN Mac client will connect to the fastest VPN server within the country that you choose. You can quickly connect to a NordVPN VPN server using the map screen. This screen can be used to quickly switch servers or test which one provides the best performance.
You can also use the search function at the top of the screen to connect to NordVPN. Search for a specific reason, such as stream Hulu or a country like the United Kingdom. There are many countries that can help you achieve your goal if you search for it. Simply choose the country that you wish to connect to. To complete the connection, click on the connect button next to the search.
- Favorite Servers- In our review, we'll be looking at how to set your favorite servers up.
- Recent connections – This displays the five most recent connections you made to the latest connection.
- All Countries – An alphabetical list of all countries within the NordVPN network.
- Other uses – NordVPN offers other services such as streaming Netflix and Hulu, torrents, and other unique purposes.
Similar results can also be obtained by clicking on the Explore button. This is the default setting that you will see when you click on the research button. Clicking the connect switch and selecting a country will establish a connection to the fastest VPN server for that country.
You now have six options: Brazil, Canada (Canada), Germany, Luxembourg and the Netherlands, as well as Sweden. Once you have selected one of these, and then turned on the connect switch you will be able to share files with NordVPN in confidence.
This screen shows the “select countries” list as filtered by Zattoo. Now, you can narrow your selection down to four countries that have Zattoo content. Select one of these and then turn on the switch to enjoy your favorite Zattoo shows within seconds.
With a Mac client, it is easy to connect to the fastest VPN server within the country. Select the country that you wish to connect and then turn on the connection. You can click the glasses at the upper right corner to have more control over which server you connect to in that country.
You will be able to select the server you wish to connect to by clicking this button. Each server has a% load value (ms), ping time (ms), and distance to make it easier for you to choose the right one.
You can also select the favorites we have mentioned in this section from the server screen. Click on the open heart right next to the server name. This will display a solid red heart that indicates that this server has been selected as a favorite. This is how the server screen looks like:
- Favorite Servers: This makes it easier for you to connect to your favorite servers, as they are at top of the list.
- Dedicated Servers: This includes Anti DDoS and Dedicated IP.
- Recent connections – If you feel the need, this makes it simple to connect to the server that you have used in the past.
- Complete server list – This list is alphabetically sorted by country.
Simply select a server to connect, and then click on the “Connect” button at the top of the screen.
- Measurement system – This will allow to you change the distances between the US imperial (miles), and the metric (km).
- Protocol – This allows you to switch between OpenVPN protocols.
- TCP – This protocol is used for transmission control and reliability. However, it can be slower due to packet transmission correction and error detection.
- UDP – This is a protocol for user datagrams and is the default because it is quicker than TCP.
- Enable DNS – This will enable you to use your custom DNS. NordVPN DNS should be used unless there is a compelling reason not to use Smart Play or other features.
This screen will also display the current server selection as well as its parameters. This screen also allows you to connect by clicking on the green “Connect” button. We will now examine the Kill Switch card for Mac clients.
When activated, the undo switch will allow you select applications to be stopped when your VPN connection drops. This will help protect sensitive information from being accidentally exposed to the Internet. You'll see a screen with a list of applications that you can add to the undo button. Clicking on an app and then opening it will add it the the list of apps that will be killed in the event of a VPN connection failure.
The NordVPN Mac OS X client was simple to use in our review. To connect to the VPN server selected, simply select the location and click on the “Connect” button. Clicking on a map location in map mode will connect you to the fastest server within that country. It's that simple. There are some unexpected features, like the ability to cancel VPN applications and the option between UDP and TCP, as well as Smart-Play.
Related posts:
 How to watch DSTV outside South Africa (Top Method in 2026)
 How Does a VPN Work? Ultimate Guide in 2026!
 How to Watch ITV Hub Abroad (Outside the UK) GUIDE 2026
 How to Watch Hulu in Singapore with a VPN Guide 2026
 How to Watch Hotstar in Europe (Best Method in 2026)
 How to watch Peacock TV in Canada (Top Method in 2026)
 How to watch Hotstar in Australia? (Easy Guide in 2026)
 How to Fix HBO Max Not in Service Area Error (Easy Guide 2026)